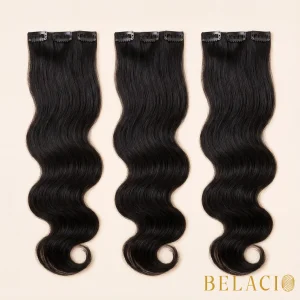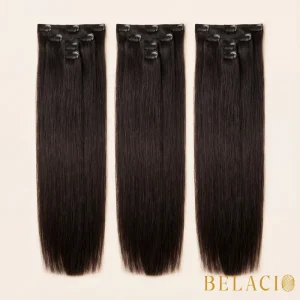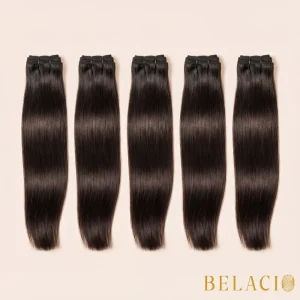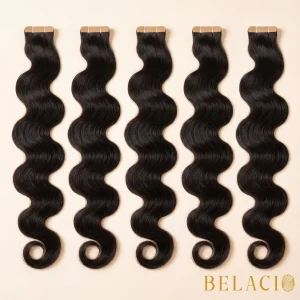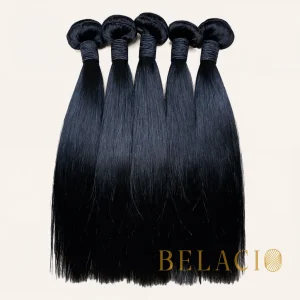
Tape-in hair extensions are semi-permanent weft attachments that sandwich natural hair between pre-taped Remy human hair sections, using medical-grade adhesive. They last 6-8 weeks with professional installation via heated pressing tools that create bonds 40% stronger than DIY finger-press methods.
Tape-in extensions require three critical decisions that determine success or failure. First, selecting Remy human hair wefts with aligned cuticles and medical-grade adhesive prevents premature deterioration. Second, using professional-grade heated pressing tools creates bonds that are 40% stronger than those achieved with DIY finger pressure alone. Third, maintaining proper 1/4-inch scalp spacing during application prevents tension damage while ensuring invisible integration that moves naturally with your hair.
Key Takeaways
- Tape-in extensions use medical-grade adhesive to sandwich natural hair between two wefts, creating seamless bonds lasting 6-8 weeks professionally.
- Professional installations deliver superior results through trained sectioning, heated presses, and optimal 1/4-inch scalp spacing techniques.
- DIY applications typically last only 3-4 weeks due to inferior adhesives and amateur application methods without proper tools
- Essential tools include professional-grade pressing pliers, sectioning clips, heat protectors, and quality 100% Remy human hai.r
- Salon applications create 40% stronger bonds and prevent common DIY issues like visible tabs and premature failur.e
Understanding Tape-In Hair Extensions
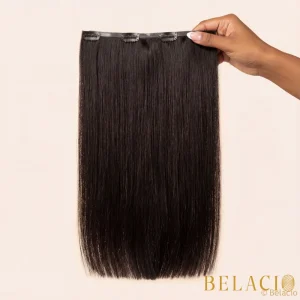
Tape-in technology features pre-taped Remy human hair wefts with medical-grade adhesive strips. The mechanism sandwiches natural hair between two extensions, creating seamless bonds that lay flat against the scalp.
Key Construction Elements:
- Thin polyurethane tape base panels that are heat-resistant and flexible
- Medical-grade adhesive designed for skin-safe bonding through multiple wash cycles
- 100% Remy human hair with aligned cuticles preventing matting and tangling
- Quarter-inch scalp spacing preventing tension damage while ensuring invisible integration
- Flat application eliminating bulk for natural movement and styling versatility
Proper tape-in quality demands aligned cuticles and intact Remy construction. Substandard products cause matting and premature failure within weeks of installation. Hair cuticle alignment significantly impacts extension performance, longevity, and overall hair health during wear periods.
Essential Tools and Materials for Home Installation
Most at-home tape-in disasters stem from using inadequate tools and generic adhesive tabs that slip within days. Professional-grade applications require specialized equipment that creates bonds lasting 6-8 weeks rather than failing prematurely.
Required Application Tools
Installing tape-in extensions at home demands precision tools beyond amateur kits flooding online marketplaces. Application quality determines the longevity of the extension and the health of natural hair throughout the wear period.
Professional-Grade Tool Requirements:
- Professional-grade pressing pliers create even pressure across tape bonds, preventing slippage
- All-in-one extension pliers streamlining the process while maintaining consistent seal integrity
- Duckbill sectioning clips enable systematic placement that finger-parting cannot replicate
- Heat protectors shield natural hair from thermal damage during the sealing process
- Fine-tooth combs for seamless blending and extension-specific loop brushes for maintenance
- Tape rolls allowing custom sizing precision for different head sections
- Liquid adhesive supplements for extra security on challenging hair textures
Quality Hair Extension Selection
The foundation of successful at-home installation requires superior hair extension quality. Authentic 100% Remy human hair maintains the cuticle’s uniform direction, eliminating matting and friction.
Extension Quality Criteria:
- Virgin hair offering unmatched customization potential and ethical sourcing documentation
- Color customization options requiring 30+ shade selections, including balayage and rooted tones
- Double-drawn construction delivering root-to-tip thickness without tapered sparse ends
- Quality wefts supporting 8-12 month lifespans through multiple retaping cycles
- Texture matching determines whether hair extensions integrate seamlessly or broadcast artificial enhancement
Adhesive and Removal Products
Every successful tape-in installation hinges on adhesive quality that determines whether extensions last eight weeks or eight days. Medical-grade adhesives resist water damage and product buildup while maintaining skin-safe bonding.
Professional-Grade Adhesive Requirements:
- Fast-acting alcohol-based removers dissolve tape bonds in under 60 seconds without damage
- Organic lanolin formulas soothe scalps during the safe removal process protocols
- Low-residue solutions enabling immediate reapplication by eliminating oily buildup completely
- Ultra-thin double-sided tapes measuring 0.03mm, providing invisible attachment points
- Reusable options maintain adhesion through three application cycles when properly maintained
Installation Tools Comparison
| Tool Category | DIY Home Tools | Professional Salon Tools | Impact on Results |
| Pressing Tools | Finger pressure only | Heated pressing pliers | 40% stronger bonds professionally |
| Sectioning | Basic rat-tail comb | Professional sectioning clips | Precise 1/4-inch spacing accuracy |
| Adhesive Type | Generic tape strips | Medical-grade polyurethane | 6-8 weeks vs 3-4 weeks wear |
| Removal Products | Oil-based solutions | Specialized solvent removers | Prevents hair breakage completely |
| Heat Protection | Standard heat spray | Professional-grade protectant | Eliminates thermal damage risk |
Step-by-Step Home Installation Process
Most DIY extension installations fail within weeks because users skip critical preparation steps or rush through sectioning. Professional-grade results at home demand obsessive attention to hair cleansing protocols and precise parting techniques.
Preparing Hair for Application
Before anything touches those extensions, hair preparation demands obsessive attention to detail. Most tape-in failures trace back to this critical preparation stage that determines adhesive bond strength.
Critical Preparation Steps:
- Start with clarifying shampoo, stripping every trace of oil, product buildup, and residue
- Skip conditioner entirely, as it creates slip, preventing proper adhesive bonding
- Dry hair completely usinga blow dryer until no moisture remains anywhere
- Straighten hair flat for maximum tape contact, eliminating gaps causing slippage
- Create precise section divisions using clips to separate working areas cleanly
- Avoid all oils near roots where tape bonds form for optimal positioning
Applying and Securing Wefts
Starting installation without addressing the sectioning requirements guarantees amateur results. Horizontal parts must be precise at 1/4 inch from the scalp, never closer to prevent tension damage.
Weft Application Sequence:
- Expose adhesive by peeling the backing without contaminating the sticky surface
- Position first weft adhesive-up on sectioned hair, maintaining 1/4 inch gap from roots
- Placethe second weft adhesive down beneath, trapping natural strands between both strips
- Press firmly for 5-10 seconds, minimum hold, ensuring complete contact
- Distribute pressure evenly using bonding pliers or the comb rolling technique
- Apply optional low-heat activation for a maximum 6-8 weeks durability
Most DIY failures stem from insufficient pressing, creating weak bonds that lift within days. Proper application technique prevents damage while ensuring secure attachment throughout the entire wear period.
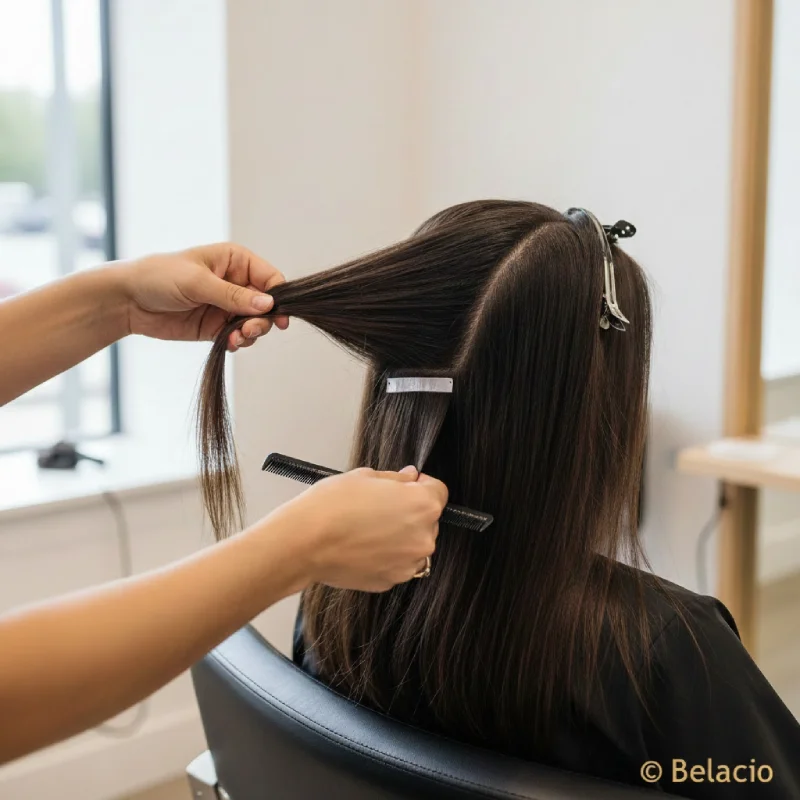
Professional Salon Installation Process
A professional tape-in installation transforms amateur guesswork into precision execution. Elite technicians obsessively measure each section with exactly 1 cm spacing between wefts and millimeter-precise distance from the scalp.
Professional Advantages:
- Pre-installation hair analysis determining exact weft counts and strategic positioning patterns
- Heat-activated sealing using calibrated flat irons at controlled temperatures for maximum strength
- Extensive aftercare protocols with sulfate-free product recommendations and maintenance scheduling
- Trained inspection of every bond for alignment perfection, preventing premature slippage
- Measured pressure during sealing, transforming weak adhesive into unbreakable connections
Professional installations eliminate the guesswork that plagues home installations. Trained stylists apply systematic approaches that deliver resultthat s amateur installation cannot replicate consistently.
DIY vs Professional Installation Comparison
| Factor | DIY Home Installation | Professional Salon Installation |
| Typical Wear Time | 3-4 weeks average | 6-8 weeks consistently |
| Bond Strength | Standard finger pressure | 40% stronger with heated tools |
| Placement Accuracy | Variable spacing | Precise 1/4-inch from scalp |
| Adhesive Quality | Generic tape strips | Medical-grade polyurethane |
| Blending Quality | Visible tabs common | Seamless integration |
| Damage Risk | Higher from improper technique | Minimal with trained application |
| Removal Safety | Risk of breakage without proper products | Specialized solvents prevent damage |
| Learning Curve | Multiple attempts to master | Expert results immediately |
Proper Care and Maintenance Tips
Wait 48 hours before washing to allow adhesive bonds to cure completely. Use sulfate-free, silicone-free products exclusively to preserve adhesive integrity throughout wear periods.
Essential Maintenance Protocol:
- Brush twice daily with loop brushes designed for extensions, never when soaking wet
- Keep heat styling below 350°F, avoiding direct contact with tape bonds
- Avoid oil-based formulas that dissolve adhesive within days of application
- Skip alcohol-based sprays that dry bonds catastrophically causing premature failure
- Schedule professional maintenance every 4-8 weeks preventing complete failure
- Sleep with hair in loose braid preventing tangling and tension on bonds overnight
Product Storage Considerations:
- Store unused extensions in breathable silk bags away from humidity
- Keep in cool, dry environments preventing adhesive degradation before use
- Avoid direct sunlight exposure that can weaken tape bonds over time
Removal and Repositioning Process
Proper removal protects your investment and natural hair health. Extensions soaked with remover solution release gently without tugging or trauma to follicles or bonds.
Safe Removal Steps:
- Specialized adhesive removers dissolve bonds in 20-30 seconds without hair damage
- Patient technique using applicators prevents breakage during weft separation process
- Fresh medical-grade tape strips enable three complete reuse cycles per extension set
- Professionals thoroughly clean wefts removing residual adhesive before reapplication
- Apply new tape precisely positioned for secure reattachment with proper spacing
Repositioning Timeline:
- Move-up appointments needed every 6-8 weeks as natural hair grows
- Extensions shift downward requiring repositioning closer to scalp for invisible appearance
- Professional repositioning extends total extension lifespan to 8-12 months with proper care
Frequently Asked Questions
Can I swim or exercise immediately after installing tape-in extensions?
No, swimming or exercising immediately after installation risks adhesive failure and premature slippage. Proper application technique requires a 48-hour curing period before any water exposure including swimming, intense exercise, or washing. Following this maintenance schedule guarantees strong bonds and prevents the extensions from loosening or detaching. After the initial curing period, you can swim and exercise normally, though it’s recommended to braid hair or wear protective styles during intense water activities.
Are tape-in extensions suitable for very thin or fine hair types?
Tape-in extensions can suit fine hair when properly installed by experienced professionals, as they distribute weight evenly across multiple attachment points and minimize damage potential compared to other extension methods. However, extremely thin hair requires careful assessment before installation, professional application using lighter-weight wefts, and diligent maintenance to prevent stress or breakage. Fine hair may need fewer wefts with strategic placement focusing on areas with sufficient density to support extensions comfortably without causing tension.
How often do tape-in extensions need to be repositioned or replaced?
Tape-in extensions require repositioning or “move-up” appointments every 6-8 weeks as your natural hair grows and pushes the extensions downward. During repositioning, a professional removes the extensions, cleans off old adhesive, applies fresh tape, and reattaches them closer to the scalp. With proper care and maintenance, the same set of high-quality extensions can be reused for 8-12 months through multiple retaping cycles before requiring complete replacement due to normal wear.
Can I color or bleach my hair with tape-in extensions installed?
Coloring hair with tape-in extensions installed is possible but risky without professional expertise. Semi-permanent dyes applied carefully can work, but the process must protect adhesive bonds to maintain extension longevity and prevent premature failure. Bleaching is not recommended as it can weaken tape bonds, damage both natural and extension hair, and create uneven color results. For best results, color your natural hair before extension installation or consult a professional colorist experienced with extensions who can safely work around the tape bonds.
What happens if I sleep with wet hair wearing tape-in extensions?
Sleeping with wet hair wearing tape-in extensions, weakens adhesive bonds significantly, increasing the risk of extension slippage and premature detachment. Trapped moisture between the tapes creates a potential mold environment near the scalp, while wet strands become fragile, prone to tangling, breakage, and matting overnight. Always dry hair completely before sleeping, ideally braiding it loosely to prevent tangling and tension on bonds. Wet hair combined with pillow friction accelerates bond deterioration dramatically.
Conclusion
The choice between DIY and professional tape-in installation demands honest assessment of your skills, time, and desired results. While DIY approaches offer initial savings, most at-home attempts fail within 3-4 weeks due to improper placement, inferior adhesives, and lack of professional-grade tools. Professional salon installations deliver consistently superior results that last 6-8 weeks through trained sectioning techniques, heated pressing tools that create 40% stronger bonds, and medical-grade adhesives that withstand daily wear. The investment in professional application protects both your natural hair health and extension longevity, ultimately proving more economical than repeated DIY attempts requiring costly corrections. Trust certified technicians who have mastered precision application techniques through hundreds of installations. Discover Belacio Hair’s premium Vietnamese tape-in extensions explicitly engineered for tropical climates and designed for professional salon application. Transform your hair journey today with extensions that deliver seamless integration, lasting durability, and salon-quality results that reward proper installation with months of flawless wear and natural movement.