Let me tell you about the moment I stopped being afraid of tape-in extensions. A stylist in San Juan showed me a client who’d been wearing tape-ins for 14 months — through two Caribbean hurricane seasons, weekly beach trips, and 85% humidity from June through November. No breakage. No thinning. No adhesive burns. Just healthy natural hair underneath, growing normally.
Before that, I believed what most people believe: that tape-in extensions damage your hair. That the adhesive rips strands out. That your hair will be thinner after removal. I was wrong — and the science explains exactly why. Here’s what stylists in Puerto Rico and across the Caribbean actually say about tape-in safety, adhesive performance in tropical humidity, and the installation and removal protocols that make the difference between damage and beautiful results.
Do Tape-In Extensions Damage Your Hair?
Tape-in extensions are one of the least damaging semi-permanent extension methods available when professionally installed and removed. Damage rates from tape-ins run 40–60% lower than fusion (keratin bond) systems and comparable to hand-tied weft installations.
The key is weight distribution. Each tape-in sandwich weighs approximately 2.5 grams spread across a 1.6-inch width, distributing that weight across 30–50 natural hair strands. That creates 0.05–0.08 grams of tension per strand — significantly below the 0.15–0.20 gram threshold where traction alopecia begins. By comparison, fusion tips concentrate 0.8–1.0 grams at a single attachment point. That’s 10–20x more stress per strand.
Here’s how tape-ins compare to other methods on actual damage potential:
| Method | Tension Per Strand | Adhesive Type | Heat Required? | Damage Risk |
|---|---|---|---|---|
| Tape-in | 0.05–0.08g | Medical-grade polyurethane | No | Low |
| Fusion/keratin | 0.8–1.0g (single point) | Keratin glue | Yes (180–220°C) | High |
| Sew-in weft | Variable (braid tension) | None (thread) | No | Medium-High |
| Micro-link/bead | 0.3–0.5g | None (metal crimp) | No | Medium |
The damage that people attribute to tape-ins almost always comes from three specific mistakes — not from the method itself. Improper removal (pulling the tapes apart instead of dissolving the adhesive with solvent) causes the most breakage. Placement too close to the scalp creates unnecessary tension. And skipping maintenance appointments past the 8-week mark lets natural hair growth shift the bond position into a stress point.
I’ve talked to stylists across the island who all say the same thing: it’s not the tape that causes damage. It’s the technician. A certified professional using proper solvent removal, correct placement depth (0.5–1 inch from the scalp), and appropriate maintenance scheduling produces zero damage outcomes for the vast majority of clients.

How Does Caribbean Humidity Affect Tape-In Adhesive?
Humidity is the real question for anyone in Puerto Rico, the Dominican Republic, or anywhere in the Caribbean considering tape-ins. Optimal adhesive performance occurs at 40–60% relative humidity — and our climate averages 75–85% year-round. That’s a real challenge, and pretending it isn’t would be dishonest.
The mechanism is straightforward: moisture creates a microscopic barrier between the adhesive and your natural hair, preventing complete bond contact. Add daily sweat from the scalp, salt crystallization from the air, and increased oil production from the heat — and standard adhesive formulations start slipping earlier than the textbooks promise.
But here’s what three years of working with Caribbean clients taught me: the right adhesive formulation changes everything.
| Adhesive Type | Climate Suitability | Hold Duration in PR | Best For |
|---|---|---|---|
| Standard acrylic tape | Temperate only | 3–4 weeks | Not recommended for tropical |
| Modified acrylic (Ghost Bond) | Humidity-resistant | 3–5 weeks | Active lifestyle clients |
| Water-based (Bold Hold Active) | Heat/humidity designed | 2–3 weeks | Heavy sweat producers |
| Medical-grade polyurethane (Pro-Flex II) | Strongest hypoallergenic | 4–6 weeks | Sensitive scalp + humidity |
The maintenance interval also needs adjusting. In temperate climates, stylists recommend refitting every 6–8 weeks. In Puerto Rico? Plan for 4–6 weeks. That’s not a product failure — it’s climate adaptation. Your stylist should communicate this upfront so you’re not surprised when you need an appointment sooner than mainland recommendations suggest.
What Should You Expect During a Professional Tape-In Installation?
Professional tape-in installation takes 45–90 minutes for a full head — significantly faster than sew-in wefts (2–3 hours) or fusion bonds (3–4 hours). The process doesn’t require heat, chemicals, or sewing. Here’s what a proper installation looks like step by step.
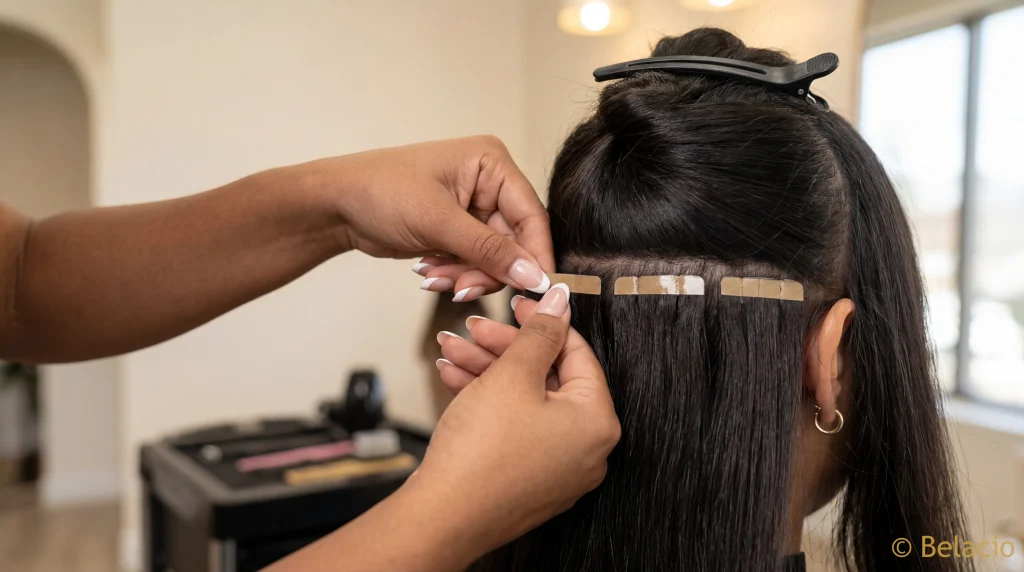
Consultation and sectioning (10–15 minutes): Your stylist assesses your hair density, identifies your attachment zones, and sections your hair horizontally. The first row starts 1–2 inches above the nape, with subsequent rows moving upward. The top 2 inches of hair near the crown stays untouched — that’s your coverage layer.
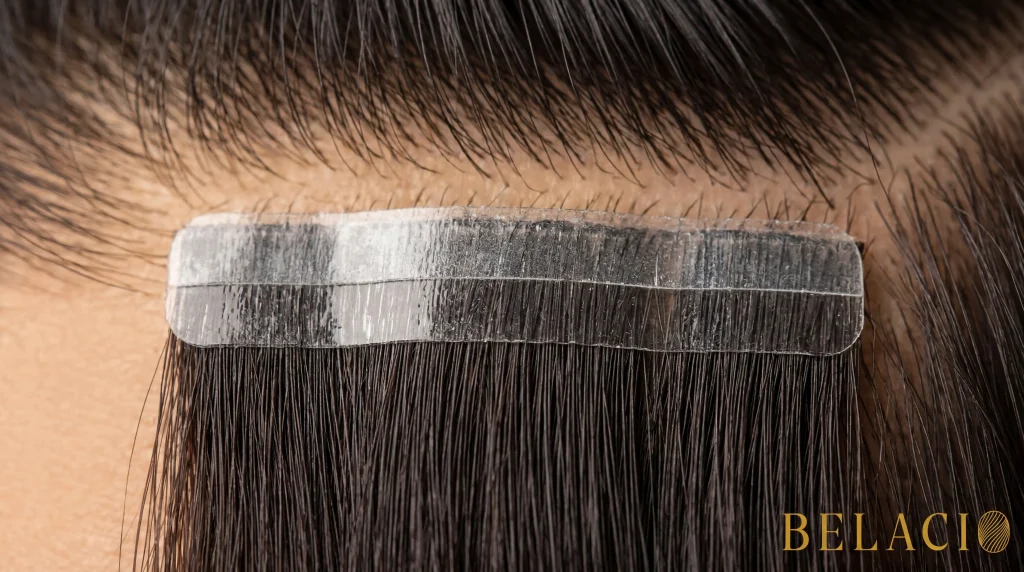
Application (30–60 minutes): Each tape-in weft gets sandwiched onto a thin section of your natural hair — one tape panel below, one above, pressed together. The adhesive activates with body heat and finger pressure. A full installation uses 30–50 individual sandwiches (60–100 tape pieces), spaced 0.5–1 inch apart vertically.
Integration cut and styling (15–20 minutes): Your stylist blends the extensions with your natural length using a razor or point-cutting technique. This step is what separates a professional installation from a visible one — the integration cut makes the transition seamless.
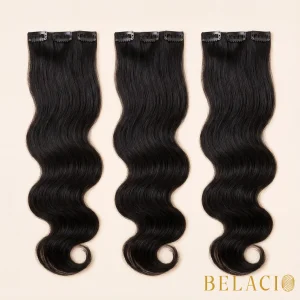
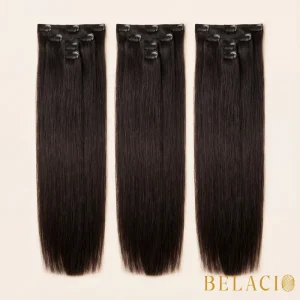
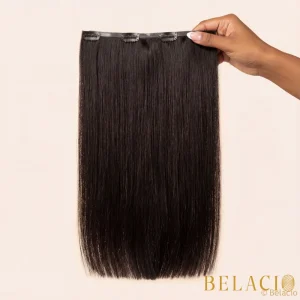
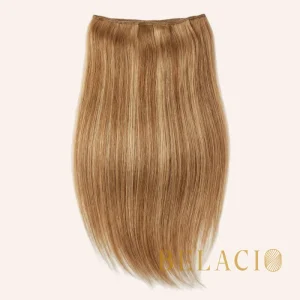
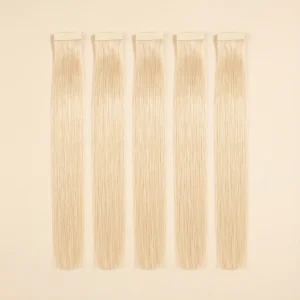
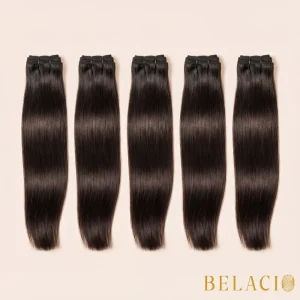
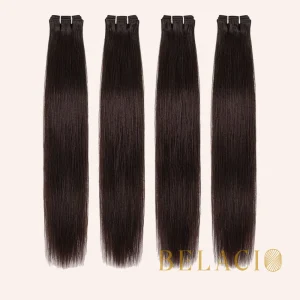
At Belacio, our tape-in extensions start at $90 per package. We carry straight, wavy, soft wavy, and natural wave textures in 1B natural black, blonde #613, and dark brown — all in lengths from 16 to 30 inches, with double-drawn Remy quality that means the ends stay full through multiple reapplication cycles.
How Are Tape-In Extensions Safely Removed?
Safe removal is the most critical step in the entire tape-in cycle — and the step where most damage occurs when done wrong. The non-negotiable rule: never pull tape-in extensions apart without dissolving the adhesive first.
The professional removal protocol:
- Apply bond-dissolving solvent (isopropyl alcohol-based or brand-specific remover) directly to the tape bond. Let it saturate for 30–60 seconds.
- Gently slide the tape panels apart — they should separate with zero resistance. If you feel pulling, apply more solvent and wait.
- Remove residual adhesive from your natural hair using a fine-tooth comb and additional solvent.
- Wash your hair with clarifying shampoo to remove all solvent and adhesive residue.
- Condition with a protein treatment to restore any moisture lost during the removal process.
What happens when removal goes wrong: Clients who attempt DIY removal by pulling the tapes apart without solvent cause mechanical breakage at the bond site. The adhesive doesn’t release — it takes your hair with it. This is the single biggest source of tape-in “damage” stories, and it’s 100% preventable with proper technique.
The hair itself? When removed correctly, your natural hair underneath should look exactly as it did before installation — minus 6–8 weeks of natural growth, which your stylist can now trim and reshape.
When Is the Best Time to Install Tape-Ins in the Caribbean?
Timing your installation around the Caribbean climate calendar makes a measurable difference in how long your tape-ins last and how much maintenance they need.
Dry season installations (December–April) give you the longest first wear. Lower humidity means your adhesive bonds hold stronger during those initial critical weeks. Install in January, and your first maintenance appointment won’t be needed until late February or early March — a solid 6-week run.
Wet season installations (May–November) require adjusted expectations. The jump from 65% to 85%+ humidity during rainy season means your adhesive works harder. Plan for your first refit at 4 weeks rather than 6. Use a humidity-resistant adhesive formulation from the start — not a standard acrylic tape.
Before major events (weddings, holidays, vacations): Install 2–3 weeks before the event, not the day before. This gives you time for one adjustment appointment if any bonds slip early, and it gives the adhesive time to fully cure at optimal strength. A fresh installation looks its most natural after a few days of natural settling.
Beach season strategy: If you’re in the ocean frequently, talk to your stylist about a pre-swim and post-swim protocol. Pre-treat by wetting your hair with fresh water before entering the ocean (this prevents salt absorption). Rinse immediately after. Dry the tape bond areas completely — leaving them damp invites bacterial growth around the attachment points.
How Much Do Tape-In Extensions Cost and How Long Do They Last?
Tape-in extension pricing includes three components: the hair itself, the professional installation, and ongoing maintenance appointments. Understanding all three gives you the real cost picture.
| Component | Cost Range | Frequency |
|---|---|---|
| Hair (per package, 20 pieces) | $90–$160 | Every 9–12 months (reusable hair) |
| Professional installation | $150–$400 | Initial + each refit |
| Maintenance/refit appointment | $100–$200 | Every 4–6 weeks (tropical) or 6–8 weeks (temperate) |
| Replacement tape | $15–$30 | Each refit |
At Belacio, tape-in packages start at $90 for double-drawn Vietnamese Remy hair. A complete first installation costs $240–$560 total (hair + stylist), with refits running $115–$230 every 4–6 weeks. The hair itself lasts through 3–4 complete reapplication cycles — meaning your $90–$160 hair investment stretches across 9–12 months of continuous wear.
The cost-per-day math: at $240 total first cost plus six maintenance appointments over a year ($115 each × 6 = $690), your annual investment is approximately $930 — or $2.55 per day for salon-quality volume and length. Compare that to daily blowout appointments or weekly salon sets.
For clients in Puerto Rico looking for tape-in extensions, browse our complete tape-in collection — straight, wavy, natural wave, and soft wavy textures with shipping across all 78 municipios. Or message me directly on WhatsApp at (787) 671-7122 for help choosing your texture and length.
Frequently Asked Questions
Do tape-in extensions ruin your hair?
Tape-in extensions do not ruin your hair when professionally installed and removed with proper adhesive solvent. Each tape sandwich distributes only 0.05–0.08 grams of tension per strand — well below the 0.15–0.20 gram damage threshold. Damage occurs primarily from improper removal (pulling tapes apart without solvent) or skipping maintenance appointments past 8 weeks. With correct technique, your natural hair grows normally underneath the extensions.
How much do tape-in extensions cost?
Tape-in hair extension costs include the hair ($90–$160 per package at Belacio), professional installation ($150–$400), and maintenance refits every 4–6 weeks in tropical climates ($100–$200 per appointment). Annual total averages $930–$1,600 depending on maintenance frequency. The hair itself lasts 3–4 reapplication cycles (9–12 months), making the cost-per-day approximately $2.55–$4.38.
How long do tape-in extensions last in Caribbean humidity?
Tape-in extensions last 4–6 weeks per application in Caribbean humidity (75–85%) compared to 6–8 weeks in temperate climates. The adhesive bond weakens faster due to moisture, sweat, and increased scalp oil production. Humidity-resistant adhesive formulations (medical-grade polyurethane) extend hold duration by 1–2 weeks compared to standard acrylic tapes. The hair itself lasts 9–12 months across multiple reapplication cycles.
How are tape-in extensions removed safely?
Safe tape-in removal requires applying bond-dissolving solvent (isopropyl alcohol-based) directly to each tape bond, waiting 30–60 seconds for the adhesive to dissolve, then gently sliding the panels apart with zero resistance. Never pull tapes apart without solvent — this causes mechanical breakage. After removal, wash with clarifying shampoo and condition with a protein treatment. Professional removal takes 20–30 minutes.
Can you swim with tape-in extensions in Puerto Rico?
You can swim with tape-in extensions by following a specific protocol: wet your hair with fresh water before entering the ocean or pool (this prevents salt and chlorine absorption), secure hair in a low braid or bun during swimming, rinse thoroughly with fresh water immediately after, and completely dry the tape bond areas. Leaving bonds damp promotes bacterial growth and accelerates adhesive breakdown.
Ready to try tape-ins that survive Caribbean humidity? Browse the complete Belacio tape-in collection — double-drawn Vietnamese Remy from $90 per package, with shipping to all 78 municipios. Questions about adhesive selection for your climate? Message me on WhatsApp at (787) 671-7122.