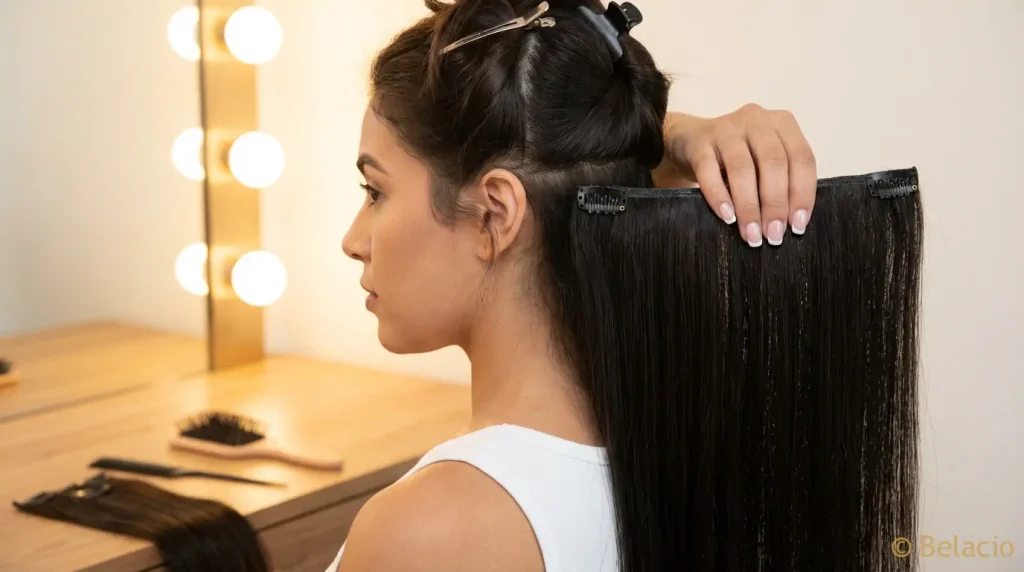
The best clip in hair extensions protect your natural hair during installation by distributing weight across silicone-padded pressure clips, teasing roots at each attachment point, and positioning wefts where your hair has enough density to anchor securely. Vietnamese Remy human hair clip-ins with cuticle alignment stay tangle-free in Caribbean humidity while the correct 7-step installation technique prevents the tension, breakage, and scalp stress that sends most first-timers back to square one.
Key Takeaways
- Teasing Is Non-Negotiable: Backcombing a small section at each clip attachment point creates a textured grip that prevents clip-in extensions from sliding, reducing the pulling and breakage caused by clips slipping on smooth hair.
- Bottom-Up Installation: Starting with the lowest weft at your nape and working upward toward the crown distributes weight progressively and prevents the top-heavy installation that causes headaches and hair loss at the temples.
- Section Width Matters: Each section of natural hair should be at least 1 inch wide and as thick as a pencil before clipping a weft onto it, ensuring enough hair density to support the extension weight without strain.
- Human Hair Outperforms Synthetic: The best clip in hair extensions use 100% Remy human hair with intact cuticle alignment, which means less tangling, natural movement, and compatibility with heat styling up to 410 degrees Fahrenheit.
- Daily Removal Required: Sleeping in clip-in extensions creates constant tension that leads to traction alopecia over time, so removing them every night and rotating placement daily protects your hairline and edges.
- Caribbean Climate Factor: Clip-ins with cuticle-aligned Vietnamese hair resist the humidity-induced frizz and swelling that strips silicone-coated alternatives within weeks, making hair origin the most important factor for tropical wear.
What Makes the Best Clip In Hair Extensions Safe for Your Natural Hair?
The best clip in hair extensions combine three protective features: silicone-lined pressure clips that grip without pulling, lightweight wefts that distribute weight across a wide surface area, and Remy human hair with aligned cuticles that prevent tangling against your natural strands. These features work together to make clip-ins the least damaging extension method available.
I’ve tested every type of extension on clients in our Fajardo studio. Tape-ins, sew-in wefts, microlinks, fusion bonds. And I always come back to the same truth: clip-ins cause the least damage because you control the wear time. You clip them in, you take them out. Your natural hair gets to breathe every single night.
The difference between a safe clip-in experience and a damaging one comes down to two things. First, the quality of the hair and hardware. Cheap clips with no silicone lining grab hair aggressively and create micro-tears at the root. Second, your installation technique. Even the best clip in hair extensions will damage your hair if you clip them onto sections that are too thin, too close to your hairline, or in the same exact spot every single day.
How Do You Install Clip-In Hair Extensions Step by Step?
Proper clip-in installation takes 7 steps and under 10 minutes once you have the technique down. Start by sectioning your hair horizontally at the nape, tease the roots, snap the first weft in place, and work upward toward your crown in layers. This bottom-up method ensures each weft sits securely without visible bumps or pulling.
Here’s the complete installation process I teach every first-time buyer:
- Brush your hair completely. Remove all tangles before starting. Clip-ins installed on tangled hair create knots that pull when you try to remove them later.
- Create your first section. Use a tail comb to draw a horizontal part about 1 inch above your nape. Clip everything above that line out of the way.
- Tease the roots. Take the section you just created and backcomb gently at the root area, about half an inch from the scalp. You’re not creating a beehive. You’re creating texture for the clip to grip.
- Open and position the widest weft. Your set’s largest piece goes here at the back. Open all the clips on the weft, press them against the teased section, and snap each clip shut. You should hear a click.
- Release the next section. Drop another inch of hair, tease the roots, and clip the next weft. Repeat this layering process for the side pieces and temple areas.
- Leave the top 2-3 inches free. Never clip a weft within 2 inches of your part line. Your natural hair needs to drape over the top of the extensions to conceal them.
- Blend with a wide-tooth comb. Gently comb your natural hair over the extensions. Use your fingers to feel for any visible bumps and adjust clip placement.
| Installation Step | Time | Common Mistake | Fix |
|---|---|---|---|
| Section hair | 1 min | Sections too thin | Make each at least 1 inch wide |
| Tease roots | 2 min | Skipping this step | Always tease, even if hair feels thick |
| Clip widest weft | 1 min | Clipping too high | Start at nape, not mid-head |
| Layer upward | 3 min | Placing all wefts at same level | Stagger by 1-1.5 inches vertically |
| Blend | 2 min | Using fine-tooth comb | Wide-tooth only to avoid snagging |
Why Does Teasing Prevent Clip-In Damage?
Teasing creates a textured base at the root that gives pressure clips a surface to grip, which prevents the clip from sliding down the hair shaft and pulling at the follicle. Without teasing, clips sit on smooth hair and gradually slip under the weight of the extension, creating concentrated tension at one point rather than distributed pressure across the section.
Think of it like this. A smooth road gives your car tires nothing to grip in the rain. A textured road keeps you stable. Your teased roots are that textured road for the clip. The clip locks onto the backcombed area and stays put all day without migrating downward.
The technique matters more than the effort. You don’t need aggressive teasing. Three or four gentle strokes with a fine-tooth comb at the root area of each section is enough. Over-teasing creates knots that are painful to detangle at the end of the day. Under-teasing lets the clips slide. Find the middle ground: enough texture to grip, not so much that removal becomes a struggle.
What Clip-In Hair Extensions Should You Look For?
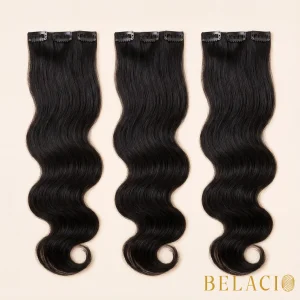
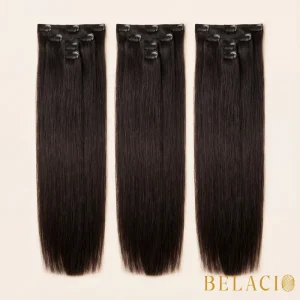
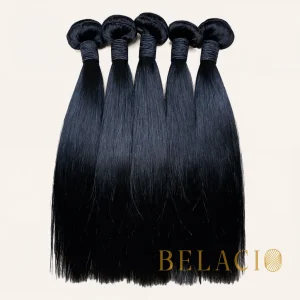
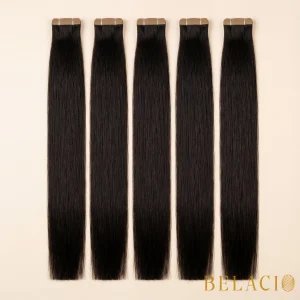
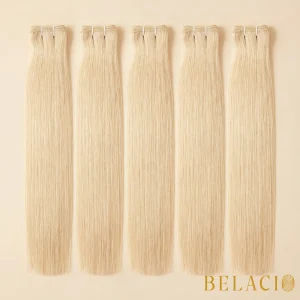
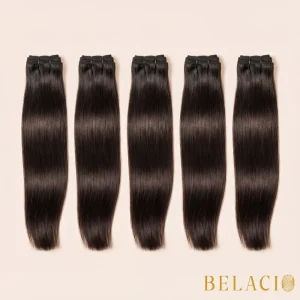
The best clip in hair extensions for protecting your natural hair are made from 100% Remy human hair with intact cuticle alignment, feature silicone-padded clips, use lightweight seamless wefts, and come in a multi-piece set (7-10 wefts) that allows you to customize placement based on your hair density and the areas where you need volume or length.
Here’s what separates quality clip-ins from the ones that destroy your hair:
| Feature | Quality Clip-Ins | Budget Clip-Ins |
|---|---|---|
| Hair Type | 100% Remy human hair, cuticle-aligned | Synthetic fiber or non-Remy (cuticles stripped) |
| Clip Mechanism | Silicone-padded pressure clips | Bare metal clips, no padding |
| Weft Construction | Seamless or thin lace weft | Thick machine-tied weft |
| Heat Tolerance | Up to 410°F (210°C) | Cannot be heat styled (melts) |
| Tangling | Minimal (cuticles aligned one direction) | Frequent (cuticles stripped, coated in silicone) |
| Lifespan | 12-36 months with care | 1-3 months before degradation |
| Weight per Set | 95-180g depending on length | Often heavier with filler fibers |
| Price Range | $120-$350 | $15-$80 |
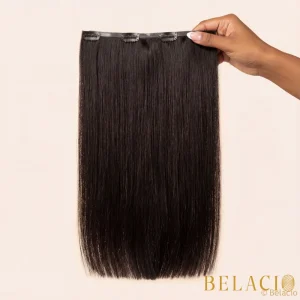
When I shop for clip-ins for the Belacio collection, I inspect the weft first. A quality weft lays flat against the head. You shouldn’t feel a ridge where the clips attach. The seamless construction means the extension disappears into your natural hair instead of creating a visible bump that announces itself every time you tilt your head.
Do Clip-In Hair Extensions Cause Damage?
Clip-in extensions are the least damaging extension method when installed correctly because they are temporary (removed nightly), use no adhesive or heat for attachment, and distribute pressure across multiple clips rather than concentrating force at a single bond point. The American Academy of Dermatology recommends temporary extensions over permanent methods for people concerned about traction alopecia.
The damage question is real and I never dismiss it. I’ve seen women come to me with thinning edges from years of tight sew-ins. I’ve seen bald patches from glued-in tracks. Clip-ins solve most of these problems because they give your hair a break every night. But they aren’t damage-proof if you misuse them.
Three habits that turn safe clip-ins into a damage source:
- Sleeping in them. The clips create constant pressure on the same follicles for 6-8 hours. Do this regularly and you’ll see thinning at the attachment sites. Always remove clip-ins before bed.
- Clipping onto thin sections. If the section of natural hair supporting a weft is too thin (less than the width of a pencil), the weight-to-hair ratio creates excessive tension. Your natural hair breaks at the point where the clip grips.
- Same placement every day. Rotating where you clip each weft by even half an inch daily prevents chronic stress on any single area. Think of it like rotating the tires on your car.
How Do You Choose the Right Hair Type for Caribbean Climate?
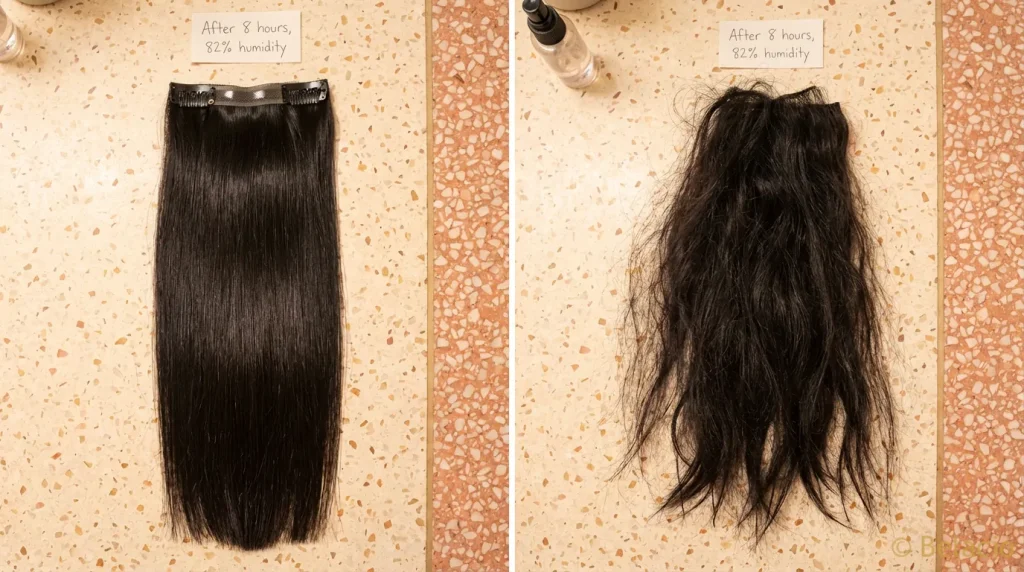
Vietnamese Remy human hair with intact cuticle alignment is the best choice for Caribbean wear because the naturally flat cuticle scales create a moisture barrier that resists the 75-85% humidity standard in Puerto Rico, the Dominican Republic, and island nations across the region. This cuticle structure prevents the shaft swelling and frizz that destroys cheaper extensions within weeks.
I’ve lived this comparison personally. I wore a set of processed Indian hair clip-ins through a summer in San Juan. By week two, the frizz was unmanageable. The silicone coating had started washing away and the stripped cuticles absorbed moisture from every direction. I switched to Belacio’s Straight Clip-In Extension made from Vietnamese single-donor hair. Same climate, same activities. The hair held its style for months.
Several types of hair extensions exist on the market, and each responds differently to tropical humidity:
- Vietnamese Remy (cuticle-aligned): Highest humidity resistance. Cuticle scales lay flat, repelling moisture. Maintains style in 80%+ humidity. Lasts 12-36 months.
- Indian Remy (processed): Moderate resistance when coating is intact. Degrades after 5-10 washes as silicone strips away. Lasts 6-12 months.
- Chinese/Mixed Asian blends: Lower resistance. Thicker individual strands absorb more moisture. Prone to heavy, lifeless hanging in humidity. Lasts 3-6 months.
- Synthetic fiber: Zero humidity resistance. Cannot be heat styled. Frizzes immediately in tropical conditions. Lasts 1-3 months.
How Should You Care for Clip-In Extensions Between Uses?
Store clip-in extensions in a silk or satin-lined case with the clips closed, brush gently with a loop brush before and after each wear, and wash every 15-20 wears using sulfate-free shampoo and cool water. Proper storage and care doubles the lifespan of quality human hair clip-ins and prevents the tangling that makes them uncomfortable to wear.
The number one mistake I see? Throwing clip-ins on a dresser or stuffing them in a drawer. The clips snag on each other. The hair tangles. And by the next morning, you’re spending 20 minutes detangling before you can even install them.
My care routine takes 2 minutes and saves hundreds of dollars in replacement costs:
- Remove each weft gently, starting from the top and working down. Never yank a clip out.
- Brush each weft from ends to roots with a loop brush (not a regular bristle brush, which catches on the weft).
- Close all clips before storing so they don’t catch on hair strands.
- Lay flat in a silk-lined case or hang on a hanger clip in your closet.
- Wash every 15-20 wears: sulfate-free shampoo, cool water, condition from mid-length to ends, air dry flat on a clean towel.
How Do You Remove Clip-Ins Without Pulling Your Hair?
Remove clip-in extensions by working from top to bottom (opposite of installation order), opening each clip fully before pulling the weft away, and using your fingers to gently separate any natural hair that wrapped around the clip during wear. Never pull a closed clip through your hair, as this tears strands at the root.
The removal process should take 3-5 minutes and should never hurt. If it hurts, something went wrong during installation (clips too tight, sections too thin, or hair tangled around the hardware during the day).
One trick that makes removal painless: spray a tiny amount of leave-in conditioner or detangling spray at each clip site before opening. This lubricates any natural hair that wrapped around the clip and lets it slide free without resistance. I keep a small spray bottle on my vanity specifically for this step, and the difference is night and day.
Preguntas Frecuentes
What is the best brand of clip-in hair extensions?
The best clip-in hair extensions come from brands that use 100% Remy human hair with verifiable single-donor sourcing, silicone-padded clips, and seamless weft construction. Belacio Hair sources directly from Vietnamese factories with cuticle-aligned processing for tropical climate performance.
Do clip-in extensions damage hair?
Clip-in extensions cause minimal damage when installed on adequate hair sections, removed every night, and rotated in placement daily. They are the least damaging extension type because no adhesive, heat, or permanent bonds are involved. Damage occurs from sleeping in them or clipping onto sections too thin to support the weight.
How long do clip-in hair extensions last?
Quality Remy human hair clip-in extensions last 12 to 36 months with proper care, including regular brushing, storage in a silk case, and washing every 15-20 wears. Synthetic clip-ins typically last 1-3 months before fibers degrade and lose their shape permanently.
Can I wear clip-in extensions with thin or fine hair?
Yes. Use fewer wefts (4-5 instead of the full 7-10), choose seamless lightweight sets under 140 grams, and focus placement on areas where your natural hair is densest. Avoid clipping near your hairline or part where fine hair is most vulnerable to tension.
How do you put in clip-in hair extensions yourself?
Section hair horizontally starting at the nape, tease roots at each section for grip, snap the widest weft at the lowest section, and layer upward toward the crown. Leave the top 2-3 inches of hair free to drape over and conceal the extensions. The full process takes 5-10 minutes.
How do I choose the right color for my clip-in hair extensions?
Match clip-in extensions to the mid-lengths and ends of your hair rather than your roots, since extensions sit below your root area. Order swatches or use a brand’s virtual color match tool before purchasing. In natural light, hold the extension against the underside of your hair for the most accurate comparison.
How can I make clip-in hair extensions look natural?
Use seamless wefts that lay flat, blend with a wide-tooth comb after installation, curl your natural hair and the extensions together at the ends, and never place a weft within 2 inches of your part line. The best results come from having a stylist cut layers into the extensions to match your natural hair’s shape.
Your Next Step
You now have the exact installation technique, the care routine, and the quality criteria that separate the best clip in hair extensions from the ones that damage your hair. The difference between a frustrating experience and a transformative one comes down to how you install, how you remove, and what you’re clipping in.
If you’re ready to try clip-ins that handle Caribbean humidity without frizzing, tangling, or losing their shape, explore the Belacio clip-in collection. Every set is Vietnamese single-donor Remy hair with silicone-padded clips, tested right here in Puerto Rico. Questions about which set matches your hair? Text me directly on WhatsApp at 787-671-7122.